
Well Happy New Year everyone!
This is a little delayed but I have had a very busy month of January and just had time to get my thoughts straight. Anyway, on with it.
Hope everyone had a fun time welcoming 2014. I had a tiring but equally amazing time with the whole of my family.
We don’t celebrate Christmas but we do the dinner and gift giving on New Year’s Eve. I wanted to go the extra mile and prepare the dinner myself – I did ask my mom to be my help though.
I planned the whole thing, turkey, stuffing, side dishes extra stuffing, appetizers, the dessert… Everything was ready to go last day. The only problem was, I didn’t have enough chairs for 11 people. We made do with some pillows on top of low stools.
As for the food, I started preparing some of the food and the dessert the day before. I baked a different style corn bread and started the essentials for my dessert.

Looks yummy right? Here is the menu:
- Bread sticks and yogurt dip
- Celery salad on oranges
- Rocket salad
- Purslane salad with garlic yogurt
- Sweet Jalapeno corn bread
- Steamed vegetables
- Baked vegetables
- Extra stuffing with corn bread
- Mom’s traditional chestnut rice stuffing
- Roast tatters and of course
- The turkey!
- And English Trifle for dessert
It was a very educational process actually, I started getting the corn bread and first layers of the trifle the night before and were literally in the kitchen from 11 till 7:30 which is when we served dinner. My super, amazing mom helped me through it most of the day and I honestly couldn’t have done it without her. I mean, I love cooking alone and being in charge but having someone who knows what they are doing with you makes all the difference.
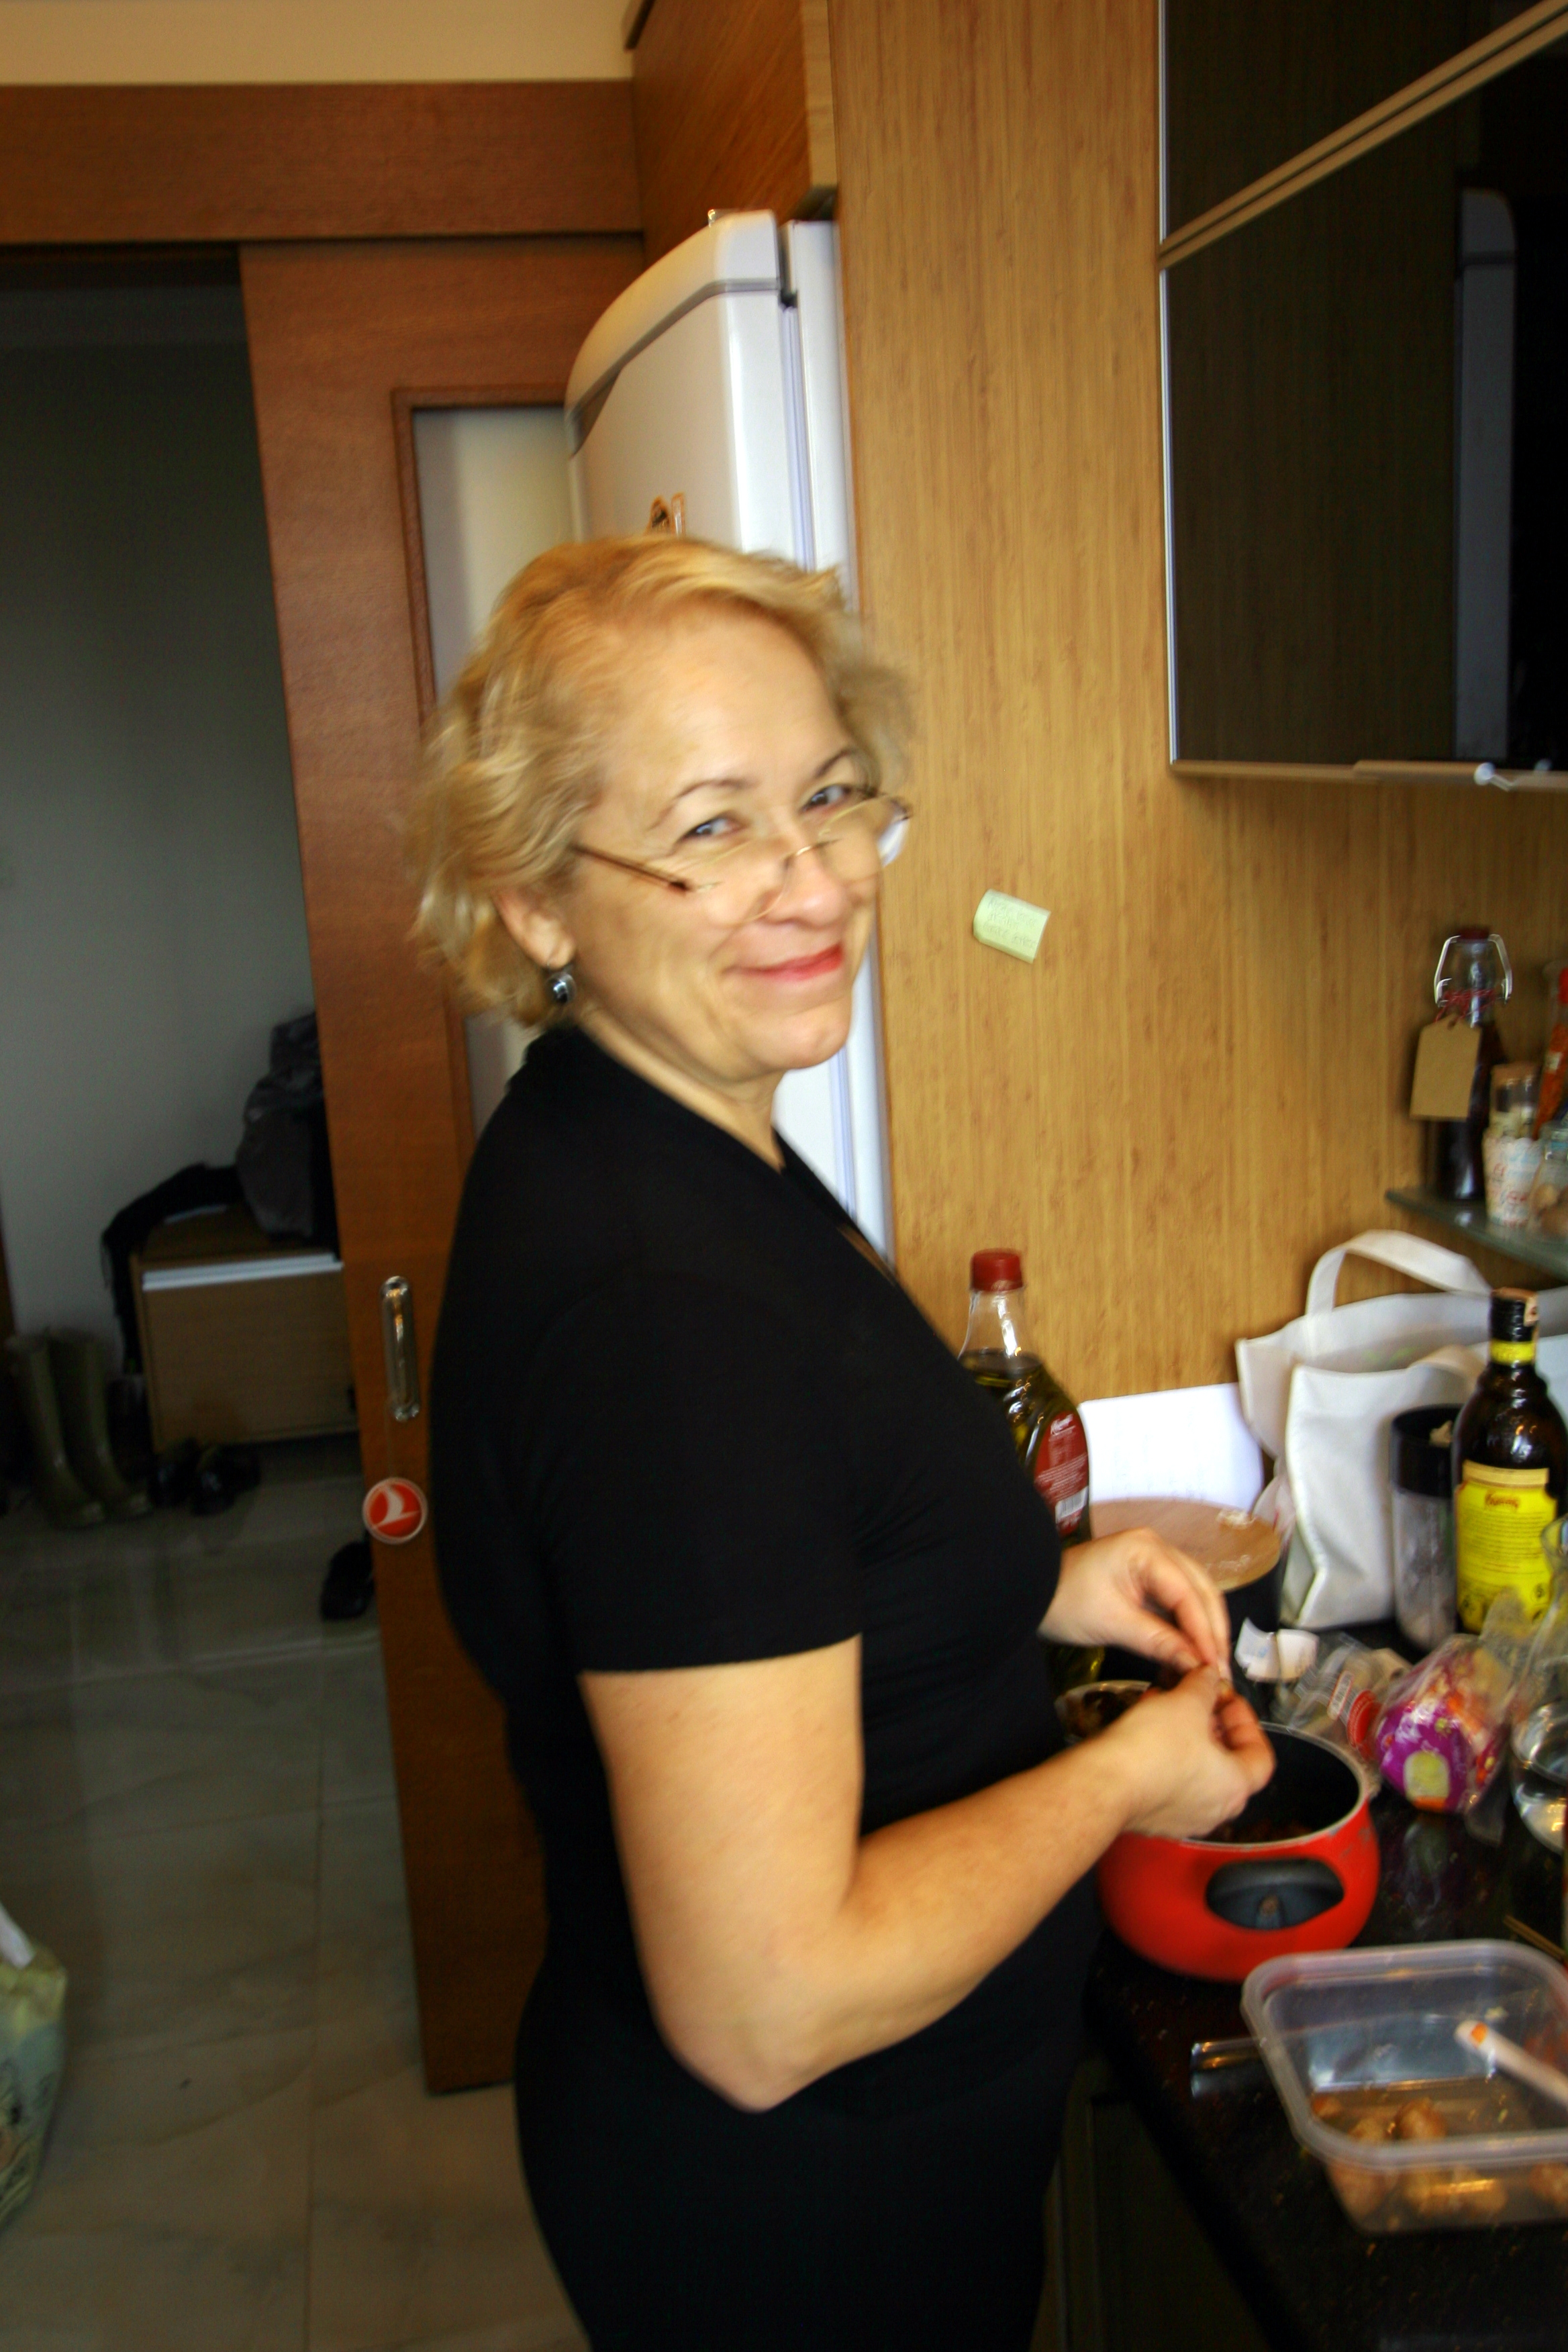

Me and my mom getting ready to take over the world! Well at least a 10 lbs turkey.
And a huge credit to my brother who played photographer for the day/night. He was over our shoulder most of the time and was actually my helper serving the dinner. But everyone was so preoccupied with the turkey being done and actually eating dinner that we don’t have pictures of the turkey done cooking. So… you only get to see the carcass and of course me elbow deep in the raw bird. Those are my favorite ones.
I won’t go into all of the recipes but I would like to share some of them with you.
The Turkey, of course
I read about cooking turkey a lot but this was actually my first time cooking a whole turkey. My brother’s friend, who is also names Tolga, gave me tips on how to butter it, so I got my hand dirty, if you will.
I used the butter rub I use when cooking a chicken. You need:
- 1 cup butter, softened
- Oregano
- Cayenne pepper
- 1 garlic clove
- Red pepper flakes
- Dried mint
- Salt&pepper
Mix everything in a mortar and crush everything to incorporate the flavors. This is the part you need to get ready because I’m going in!
Rub the mix on the surface of the bird, most importantly, separate the skin and the flesh with your hands and make sure you put a good amount of butter between the skin and the meat. You need to have fun in this part.


Ok, this is just the rub, for the cooking process you need:
- Apples
- Onions
- Carrots
- Tomatoes
- Garlic
- Parsley
Out of all of them apples are the most essential. You know the inexpicable weird cooked bird smell? Apple is the solution for it!
Just cut everything in huge pieces and place around the bird and even the inside. Just leave a few garlic as a whole, don’t even peel them.


Mom showed me how to twist the legs so they go in the skin near the but so that you bird will look more put together.

Now when you’re ready to put the turkey in the oven, make sure the oven is very hot. Preheat the oven at 200°C or 400°F but when you actually put the turkey in turn the heat down to 185°C or 375°F. This will help the skin be golden.

Check periodically but let the bird cook at least for 3 hours. When checking, make sure you help the juices on the bottom of the pan reach the top with a spoon. If there are any vegetables getting too much heat, you can throw them away, 3 hours is too much for some of them let alone, longer.
And If you see any part that is not getting crispy enough, you can rub some leftover butter mix with a spoon.
To see if it is cooked, after 3 hours you can poke the breast bit with a knife and check the juices coming out. If there is too much juice you need to cook some more. But be careful not to overcook the turkey, at that point you can have a very dry dinner.

I’m afraid this is all that is recorded of the cooked turkey. We just dove into it I guess, I actually didn’t even see it go, went inside to get a big knife and when I come back the wings and the breasts were gone! But look at that color, you can imagine how the whole turkey looked all golden and crispy. Anyway I’m really glad everyone enjoyed it and I pulled it through. I am grateful for everyone who helped, too.

Here are some of the other things we made..
Celery Salad on Oranges:
We, Turks, love anything to do with yogurt. So fashioning celery root with yogurt is basically a given. We prepared this dish by combining two ways. We prepared the salad with my mom’s recipe and served it on oranges as I heard from somewhere.

You need:
- Celery root
- Green apples
- Walnuts
- Garlic clove
- Lemon juice
- Olive oil
- Salt
- Oranges
- Parsley for garnish
This is very simple really. Just grate the celery root and apples. You
don’t need to peel the apple but you should squeeze and drain them after peeling so that you salad is not on the runny side.
In a bowl whisk yogurt until smooth, add fresh, smashed garlic. You can beat the garlic in a mortar. Add the celery and apple to the yogurt. Season with salt and olive oil. Add the crushed walnuts as a final step.
Cut the oranges in big circles and lay them on the bottom of the plate you will be serving. Spoon individual celery salad to all the lemon slices. Do this step a little earlier because when you put the salad on the oranges, the orange taste infuses in the salad and gives a lice tangy taste. And this only happens if you put the salad on the slices up to one hour before serving.
When serving add a little bit of parsley to every orange slice to add a nice touch.
As celery root tends to darken in time I suggest you prepare this dish very close to serving or mix with yogurt immediately. But if you do in fact start the process early, don’t forget to add lemon juice to the celery you grated to keep the white color.

Cornbread stuffing:
I read about this recipe from one of my favorite blogs: Damn Delicious and knew I had to make it, it just looked so good. But honestly, for this table it was a little too much. It did taste good and it was finished at the end of the day but still I felt like it just didn’t fit.
I made a few alterations to the recipe but if you want the original you can find it here.
Ingredients:
- 100gr ground beef
- 2 cups sweet corn bread (you can use store bought or make some yourself)
- 1/2 onion or 2 shallots, chopped
- Garlic clove
- 1 cup celery root, cut up into small cubes
- 1 cup carrot, cut up into small cubes
- 1 cup red bell pepper, chopped
- 1 cup cut up parsley
- 1 teaspoon tomato paste
- 1 cup chicken stock
- Olive oil
- Cumin
- Oregano
- Sumac
- Salt & pepper
- Panco or bread crumbs
In a pan saute the onion/shallots. Add half of the chopped garlic and all of the ground beef. Mix in the pan until the beef looks cooked. Add a good amount of ground black pepper. Gradually add the rest of the garlic, red pepper, celery, carrots and the spices. Cook these together for a while. Add the tomato paste and make sure it goes everywhere.
Cut up the corn bread into small cubes too and add to the pan. If the bread is a little stale it if better because this way they won’t crumble. But in any case be careful mixing and don’t mash the bread. Mix everything once and add the chicken stock. don’t touch it too much after that and take off the heat. Add the parsley and give everything a final mix.

Place the stuffing in an oven pan and cover the top with panco. 15/20 minutes before eating, place in the oven at 375°F (190°C) and grill/cook. Make sure the top is crusted when you’re taking out of the oven.
This is a very good kind of dish to make because you can prepare it beforehand and just place in the oven when you’re busy making other things, say a celery salad maybe.

As for dessert I made a berry trifle but I will give that recipe separately, but I will say it was one of my best desserts ever!
So here you have my New Year’s Eve Adventure. It was trying but it was so great to see everyone’s reaction when they first taste the dishes.
Hope you had a good time too this NY’s Eve and have a great year! Enjoy


One thought on “My New Year’s Eve Dinner Adventure”